Scanning Film - Rob Jones

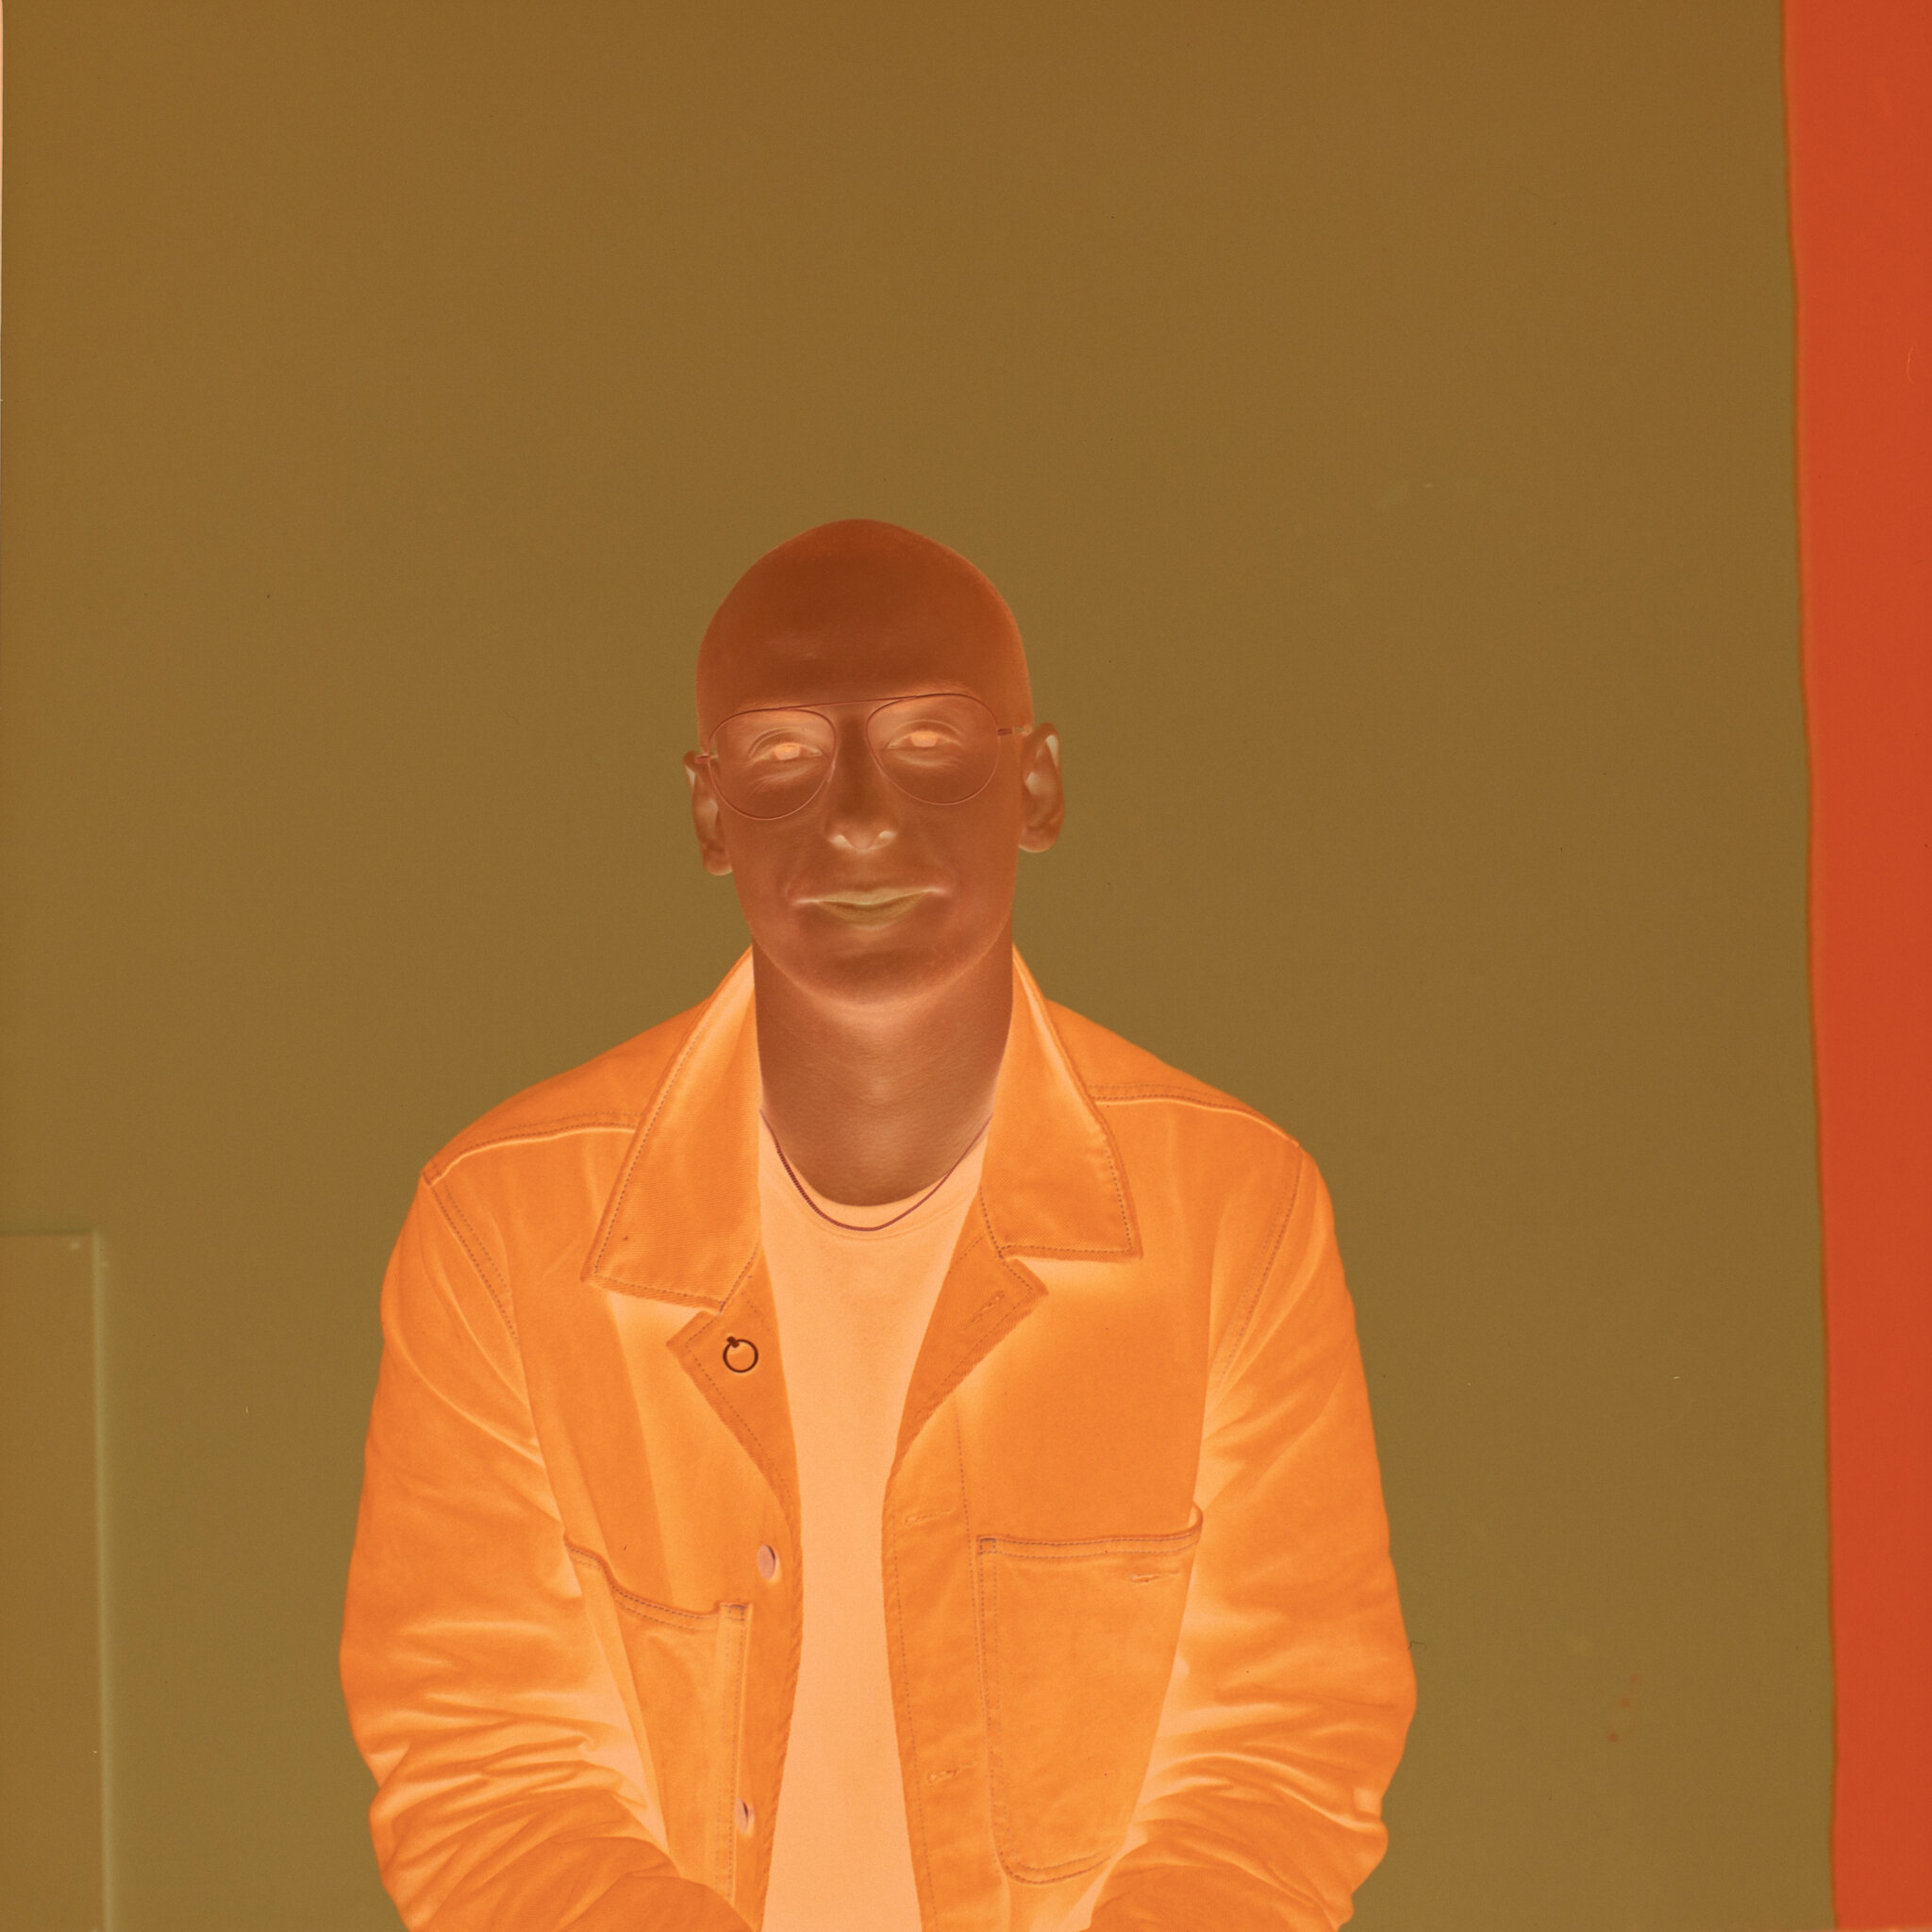
Rob Jones. Photograph by Lou Jasmine.
FILM photography is having a resurgence of popularity around the world. It’s bringing a fresh perspective on live music photography and is defining modern street style.
Rob Jones, part of the photography collective Khroma Collective, has been shooting film for five years across the European music festival scene. The Tarsier Creative first met the London-based creative at Outlook Festival in 2018 and have been fans of his work ever since. In this feature, Rob gives us an in-depth look at his process for scanning film at home.
I began my photography career shooting in nightclubs and warehouse parties using an entry level DSLR. Having got to grips with using the camera I incorporated an off-camera flash set-up which allowed me to be much more creative in how I wanted the final image to look. Having shot with digital for a few years I decided to explore the medium of film. With no prior studying or knowledge of photography I researched analogue photography techniques and the different formats. Using my dads old Olympus OM10 I fell in love with film photography and now shoot on medium format regularly.

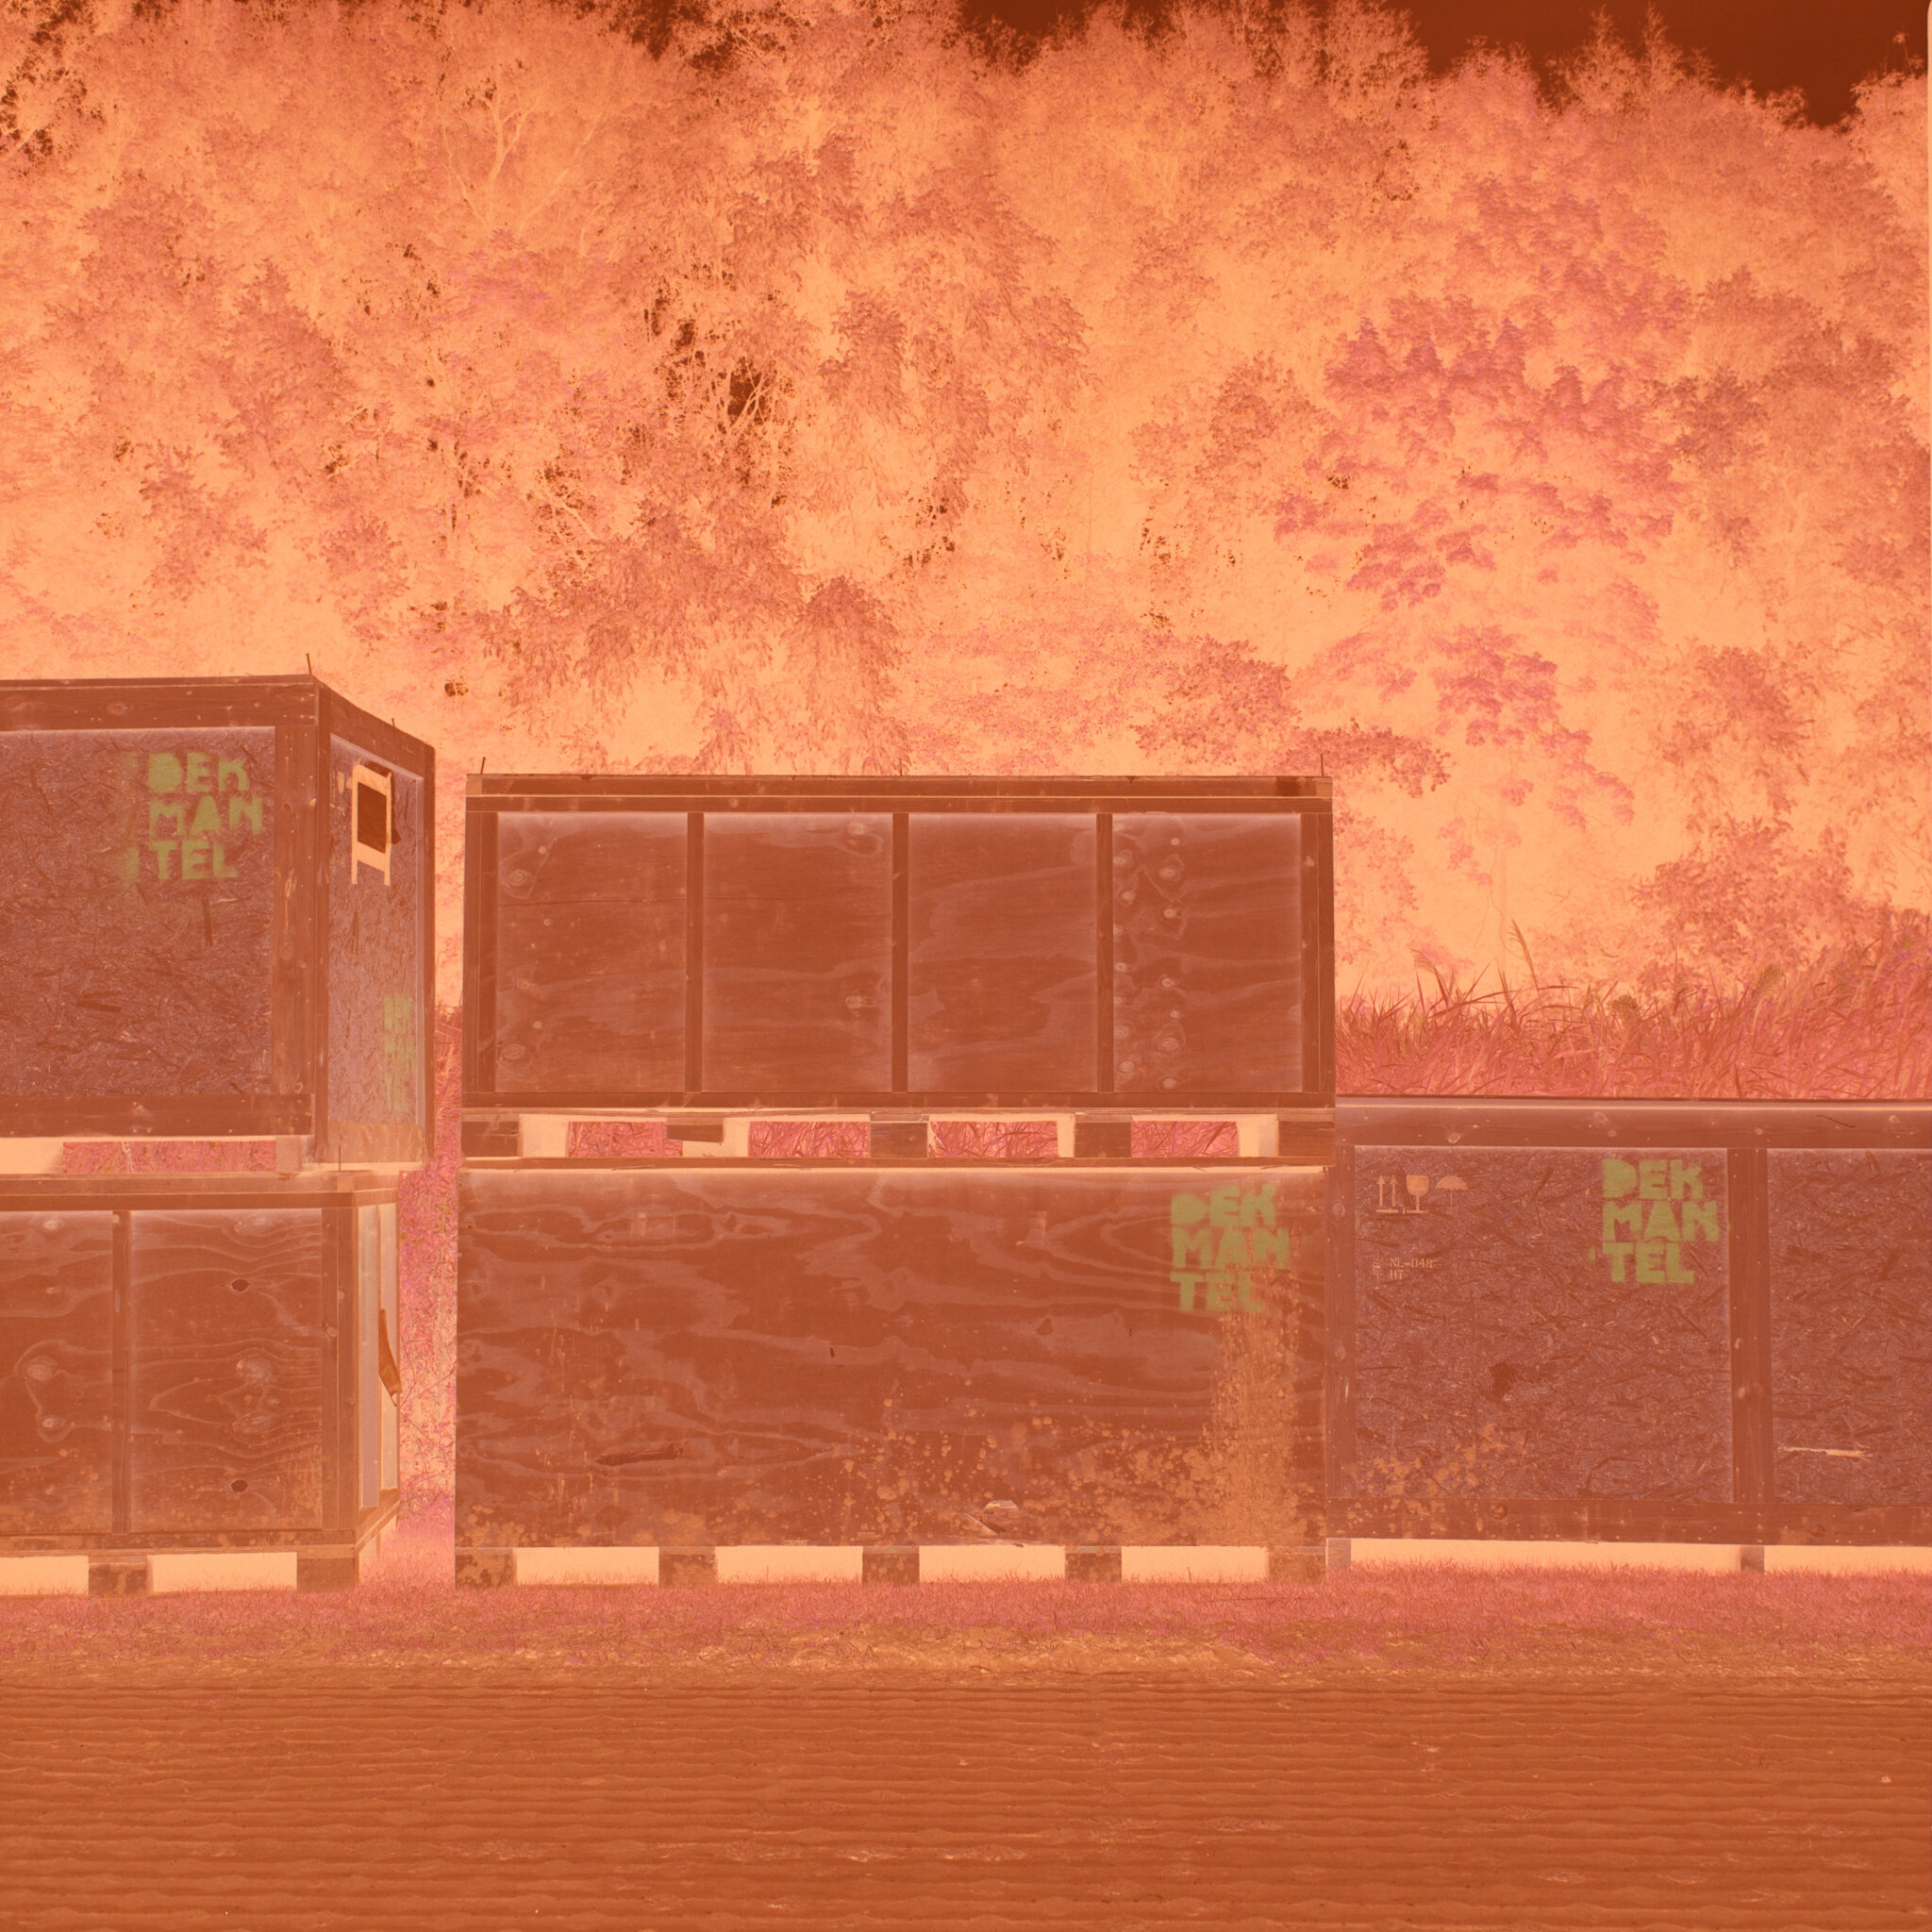
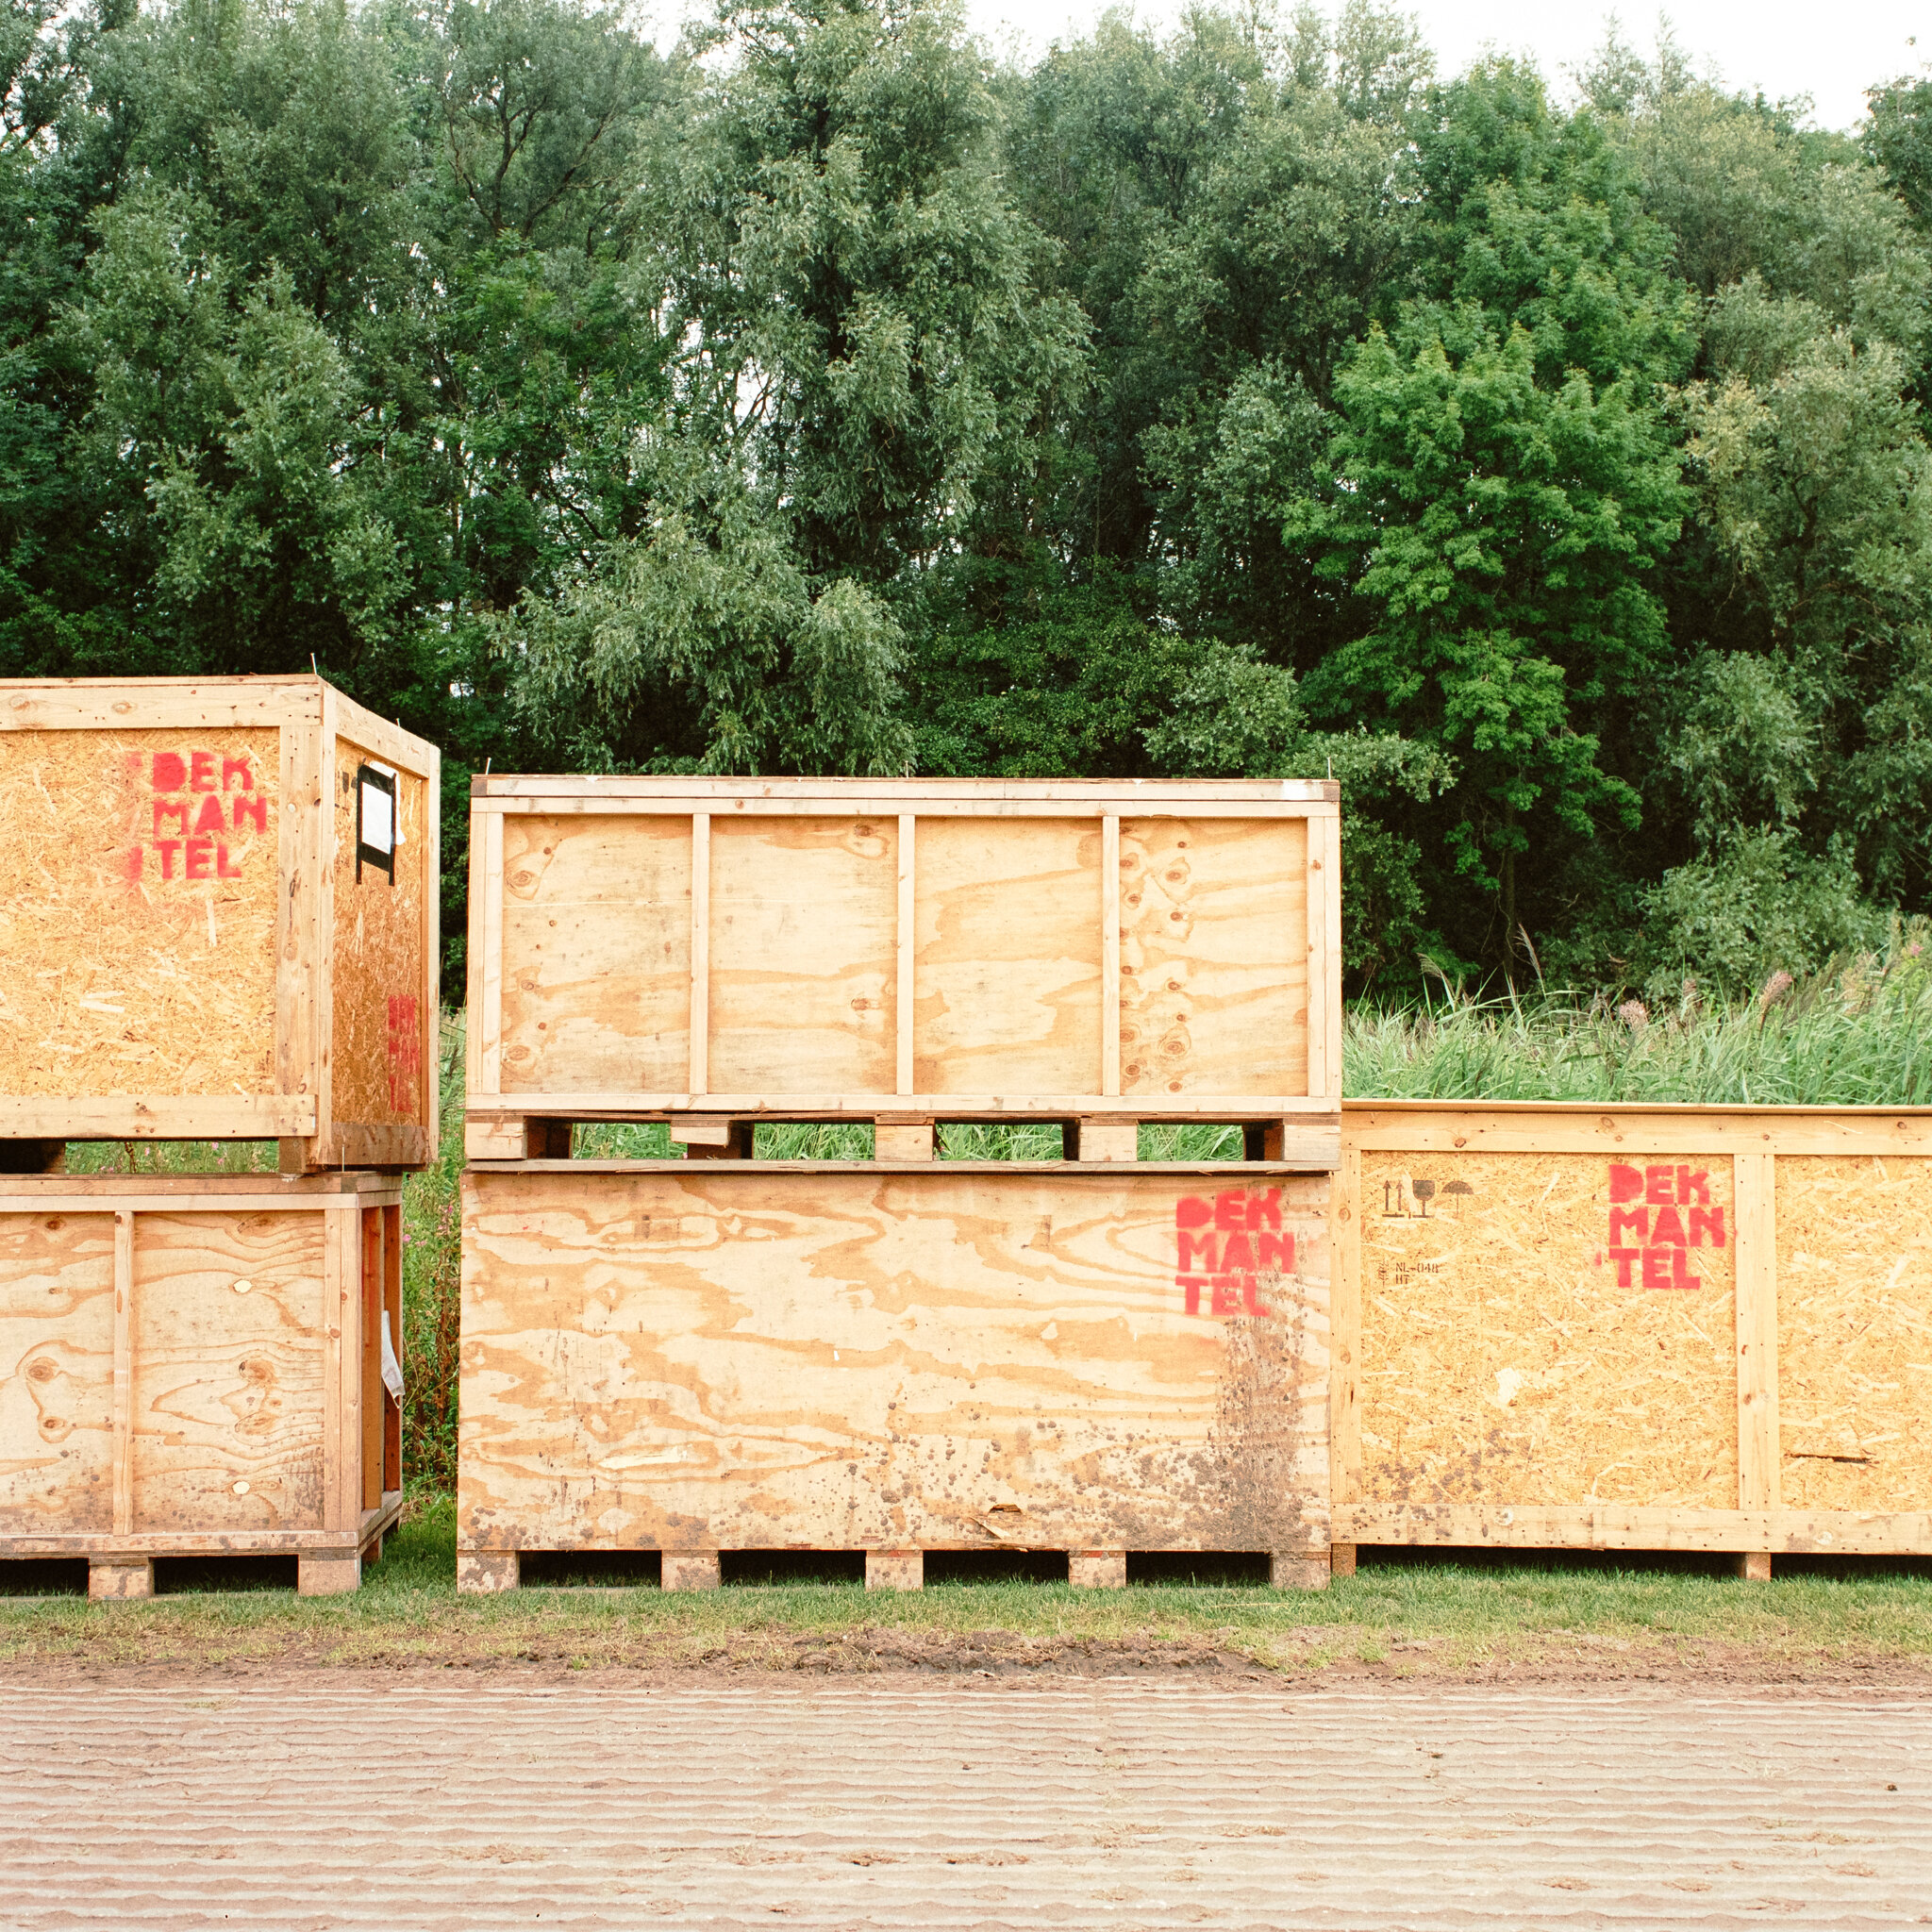
Before…

After…
Whilst working on my new website I wanted to re-scan a lot of my film negatives to have a higher resolution. I could’ve taken my negatives back to the lab and had them re-scanned, but this would’ve been pretty expensive considering the amount of images I had. The other alternative is to use a scanner at home. I borrowed a friends Epson v600 scanner; it’s a relatively straightforward scanner at a fair price range that offers decent results. However it was slow, very slow if scanning high-res. The software was also very dated and generally not that user friendly.
A friend and super talented photographer named Ben (@benamando) posted an image on his Instagram story of his DSLR set up to scan his negatives at home. Immediately it caught my attention and I asked a few questions. Having then researched for myself and watched many YouTube videos I bought myself the equipment needed to give it a go.
It’s worth noting that however you choose to have your negatives scanned, whether it be from a professional lab, using a scanner or a DSLR at home they all have many advantages and disadvantages, so its worth doing your research first to find out exactly what you want to achieve and what your budget allows.
A big advantage by using a DSLR to scan my negatives was that DSLR scanning is incredibly faster and more workflow efficient than using the Epson v600. With DSLR film scanning, each “scan” happens as quickly as a photo! I can scan an entire roll of 120 film in around ten minutes using a tether cable from my camera directly into my laptop. You should be shooting in RAW as this allows you to then batch-edit all your scanned negatives later on in Adobe Lightroom and dedicated software - Negative Lab Pro.
I found that the software with the Epson v600 looked and felt very out-dated. Slow menus and an interface that looked more at home on Windows XP. Instead, by shooting in RAW you have images that can be manipulated in Adobe Lightroom and Negative Lab Pro using their much more up to date and user-friendly interfaces.
Hardware:
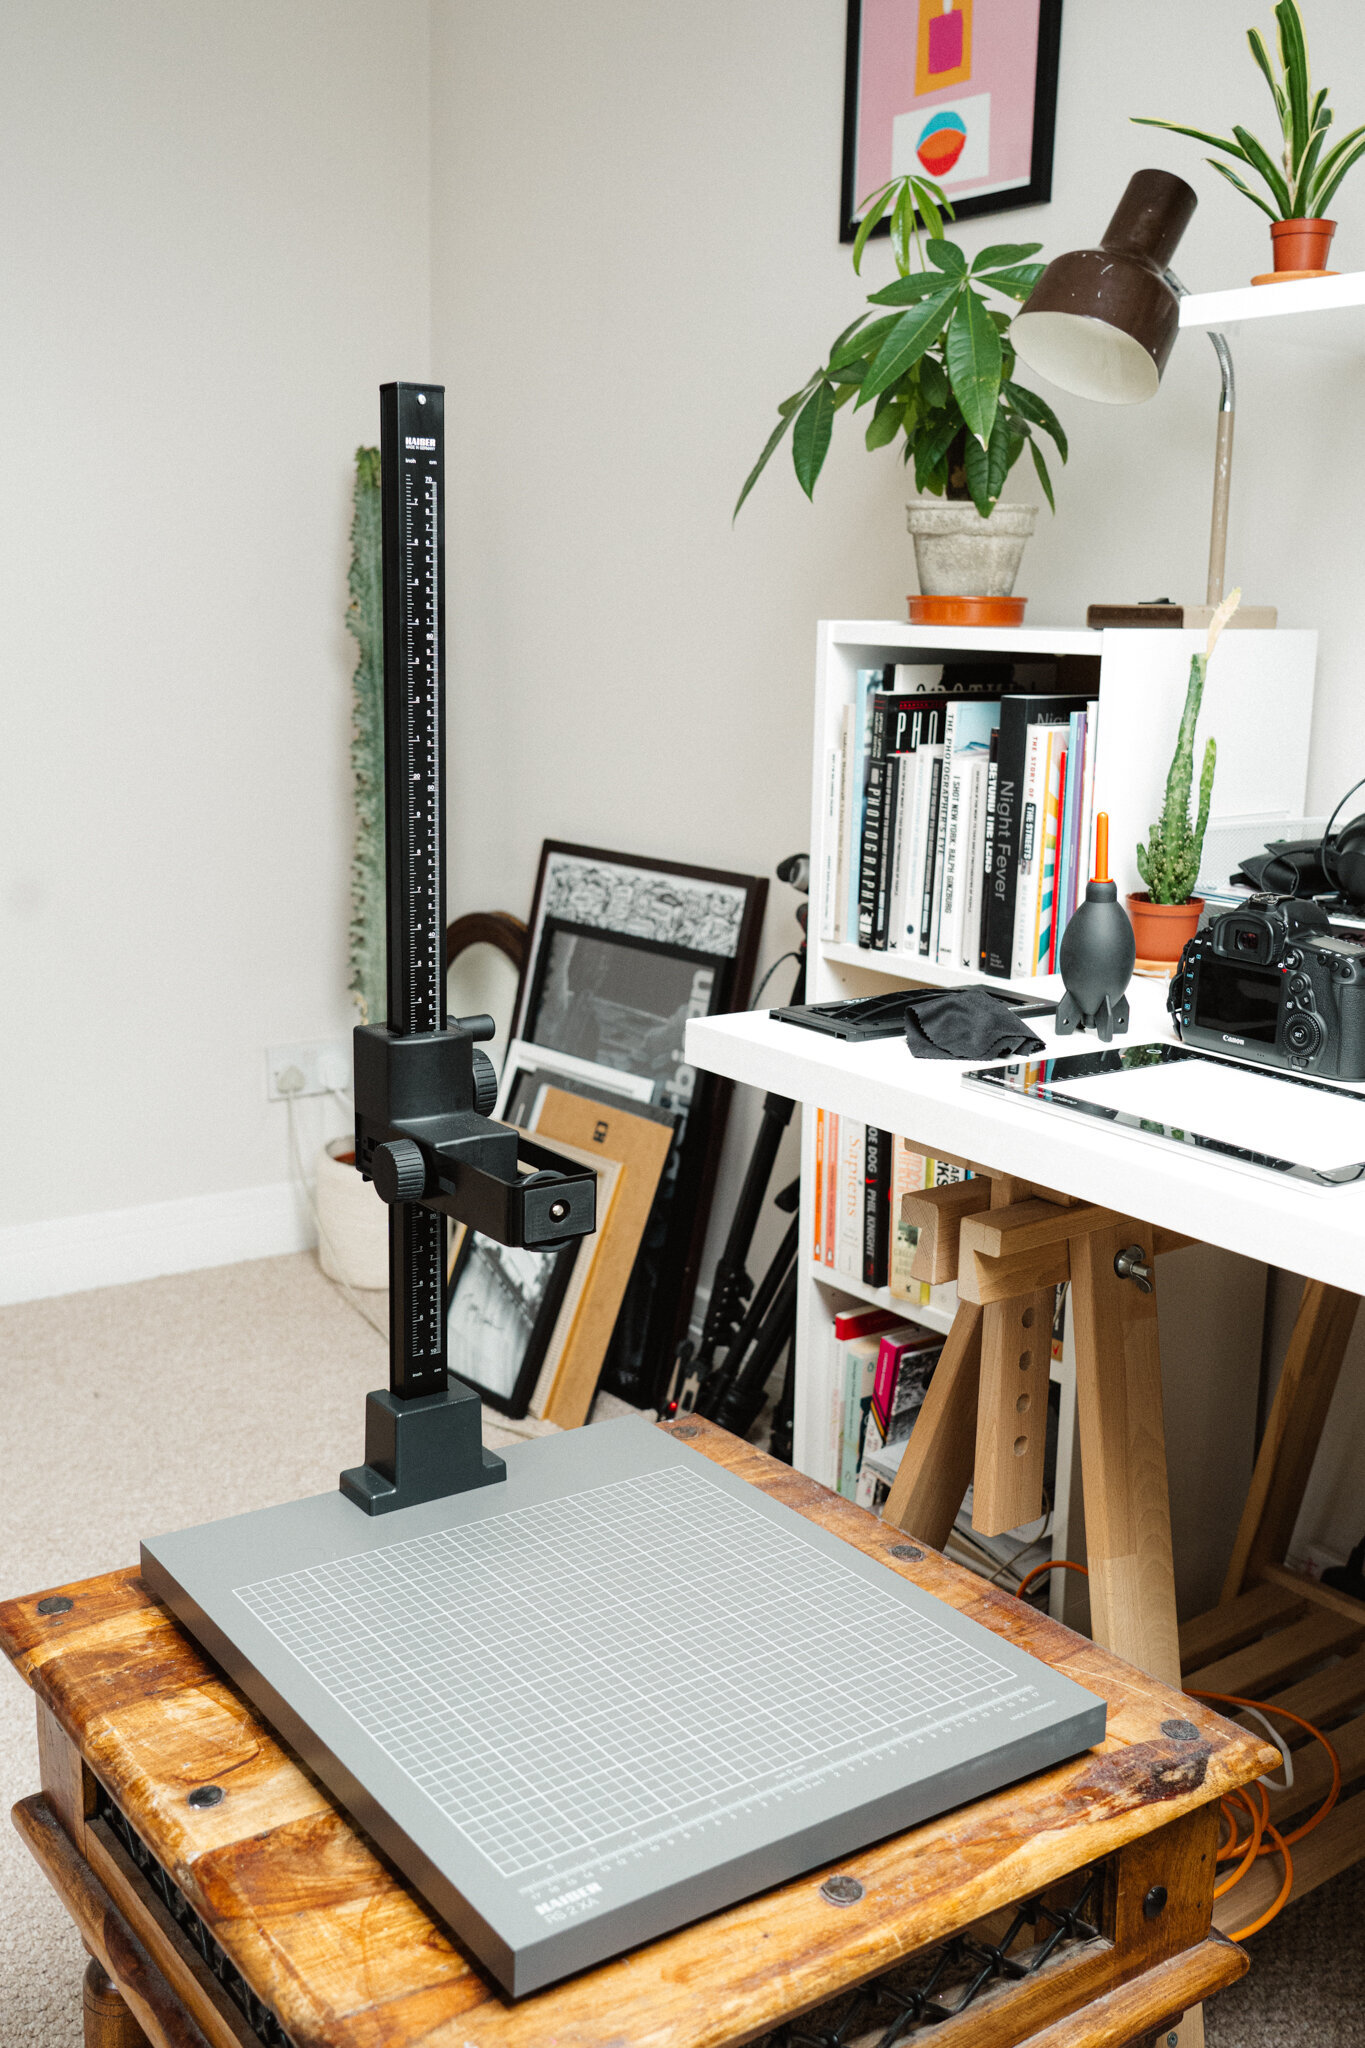
A copy stand or a tripod (with a main column which can be inverted).
A tether cable.
Lightbox/Lighttable – I use a Kaiser slimlite plano.
Lomography film holder, 120mm and 35mm versions.
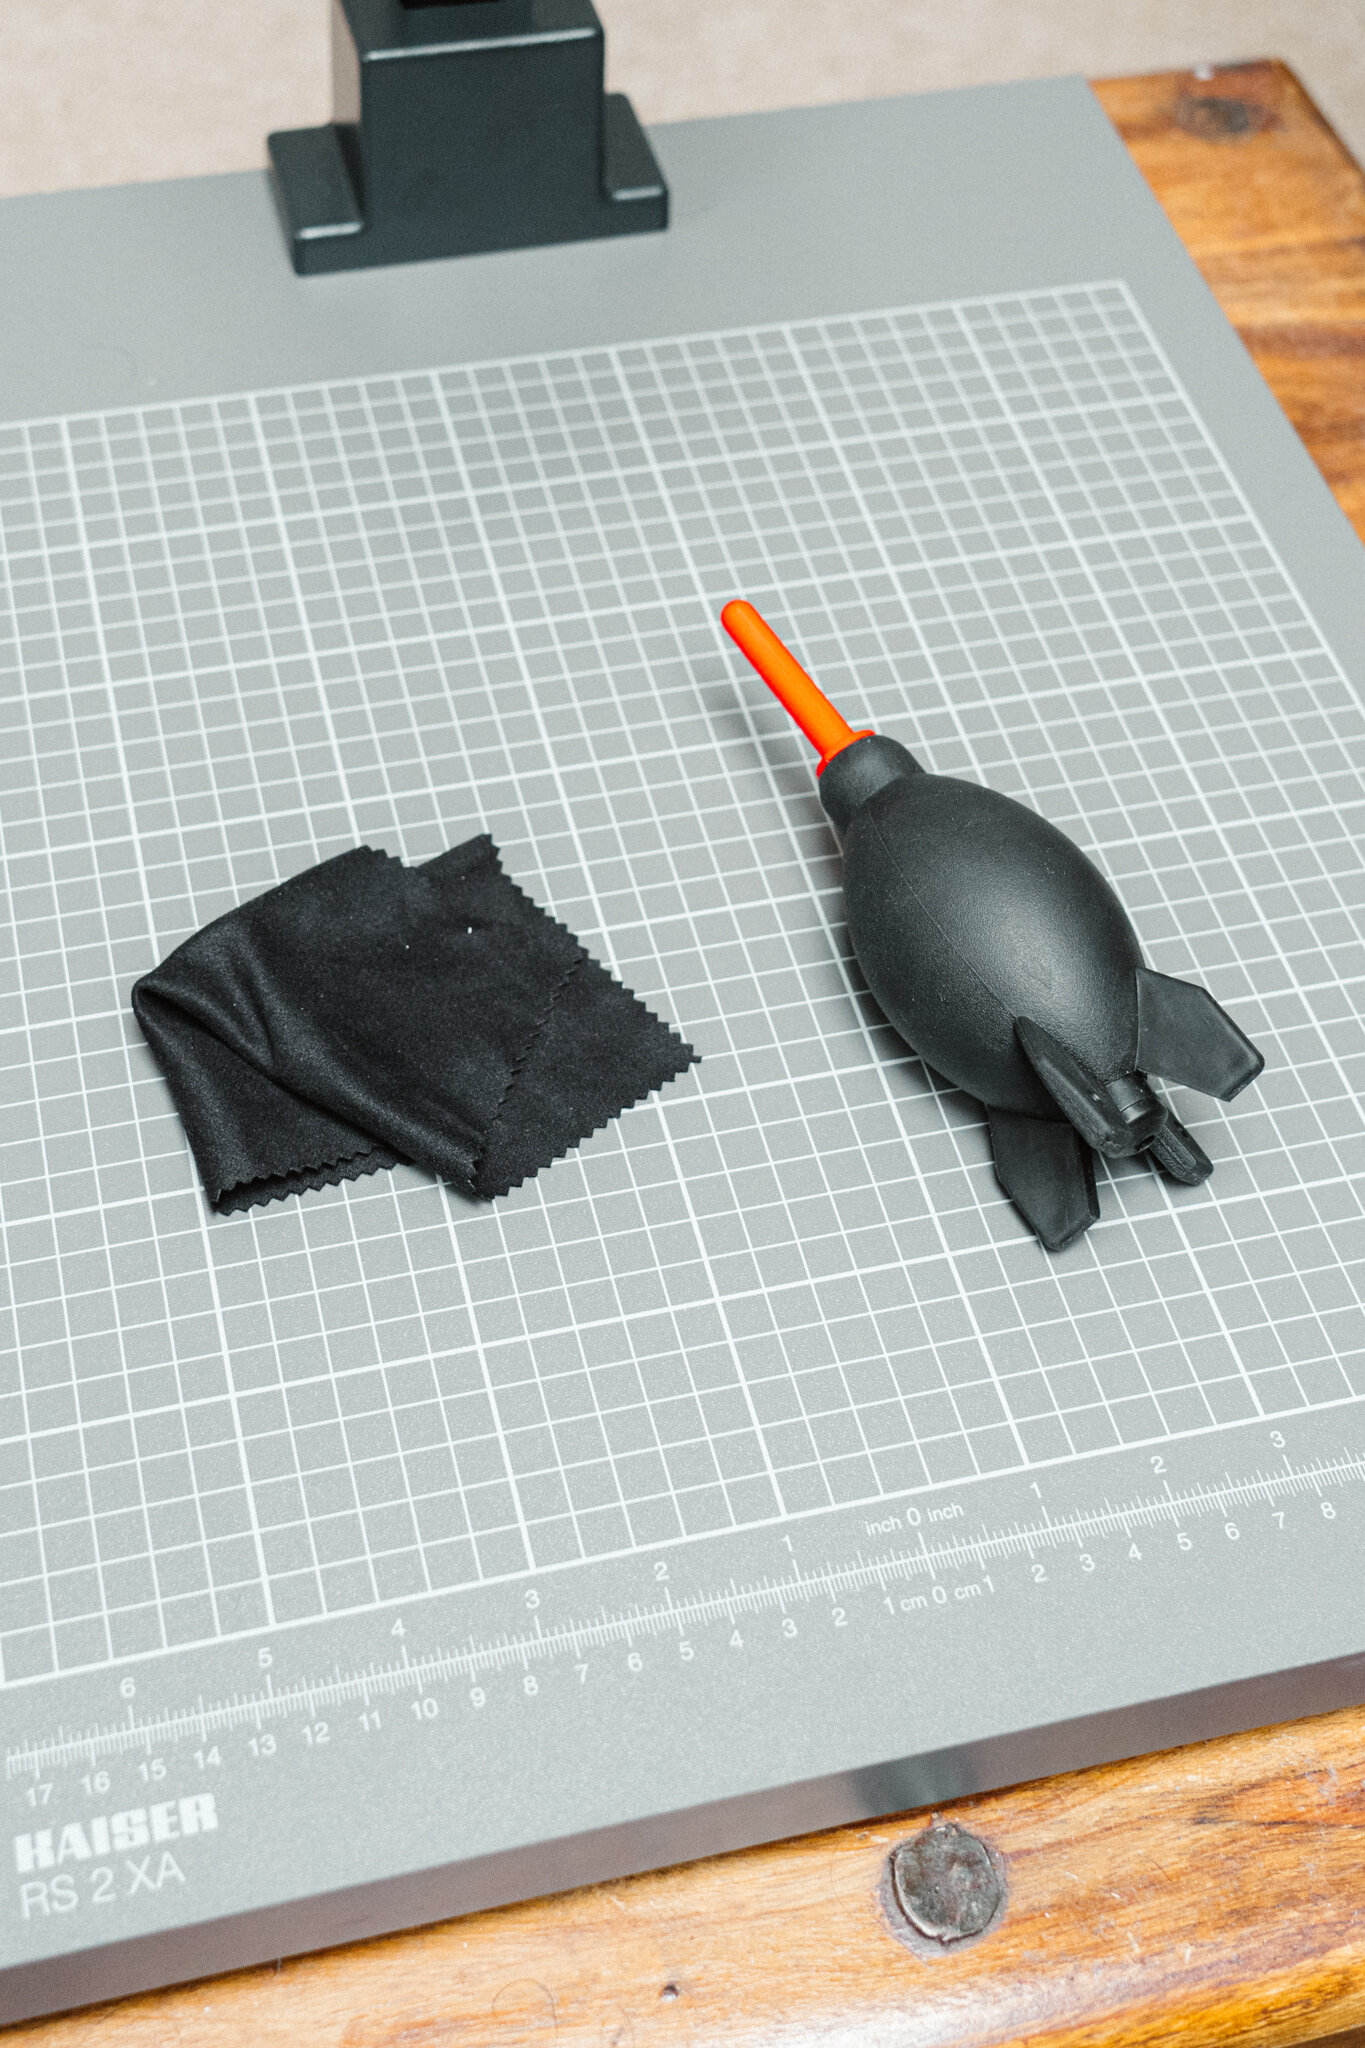
Air blower / microfiber cloth. Make sure that your set-up is dust free.
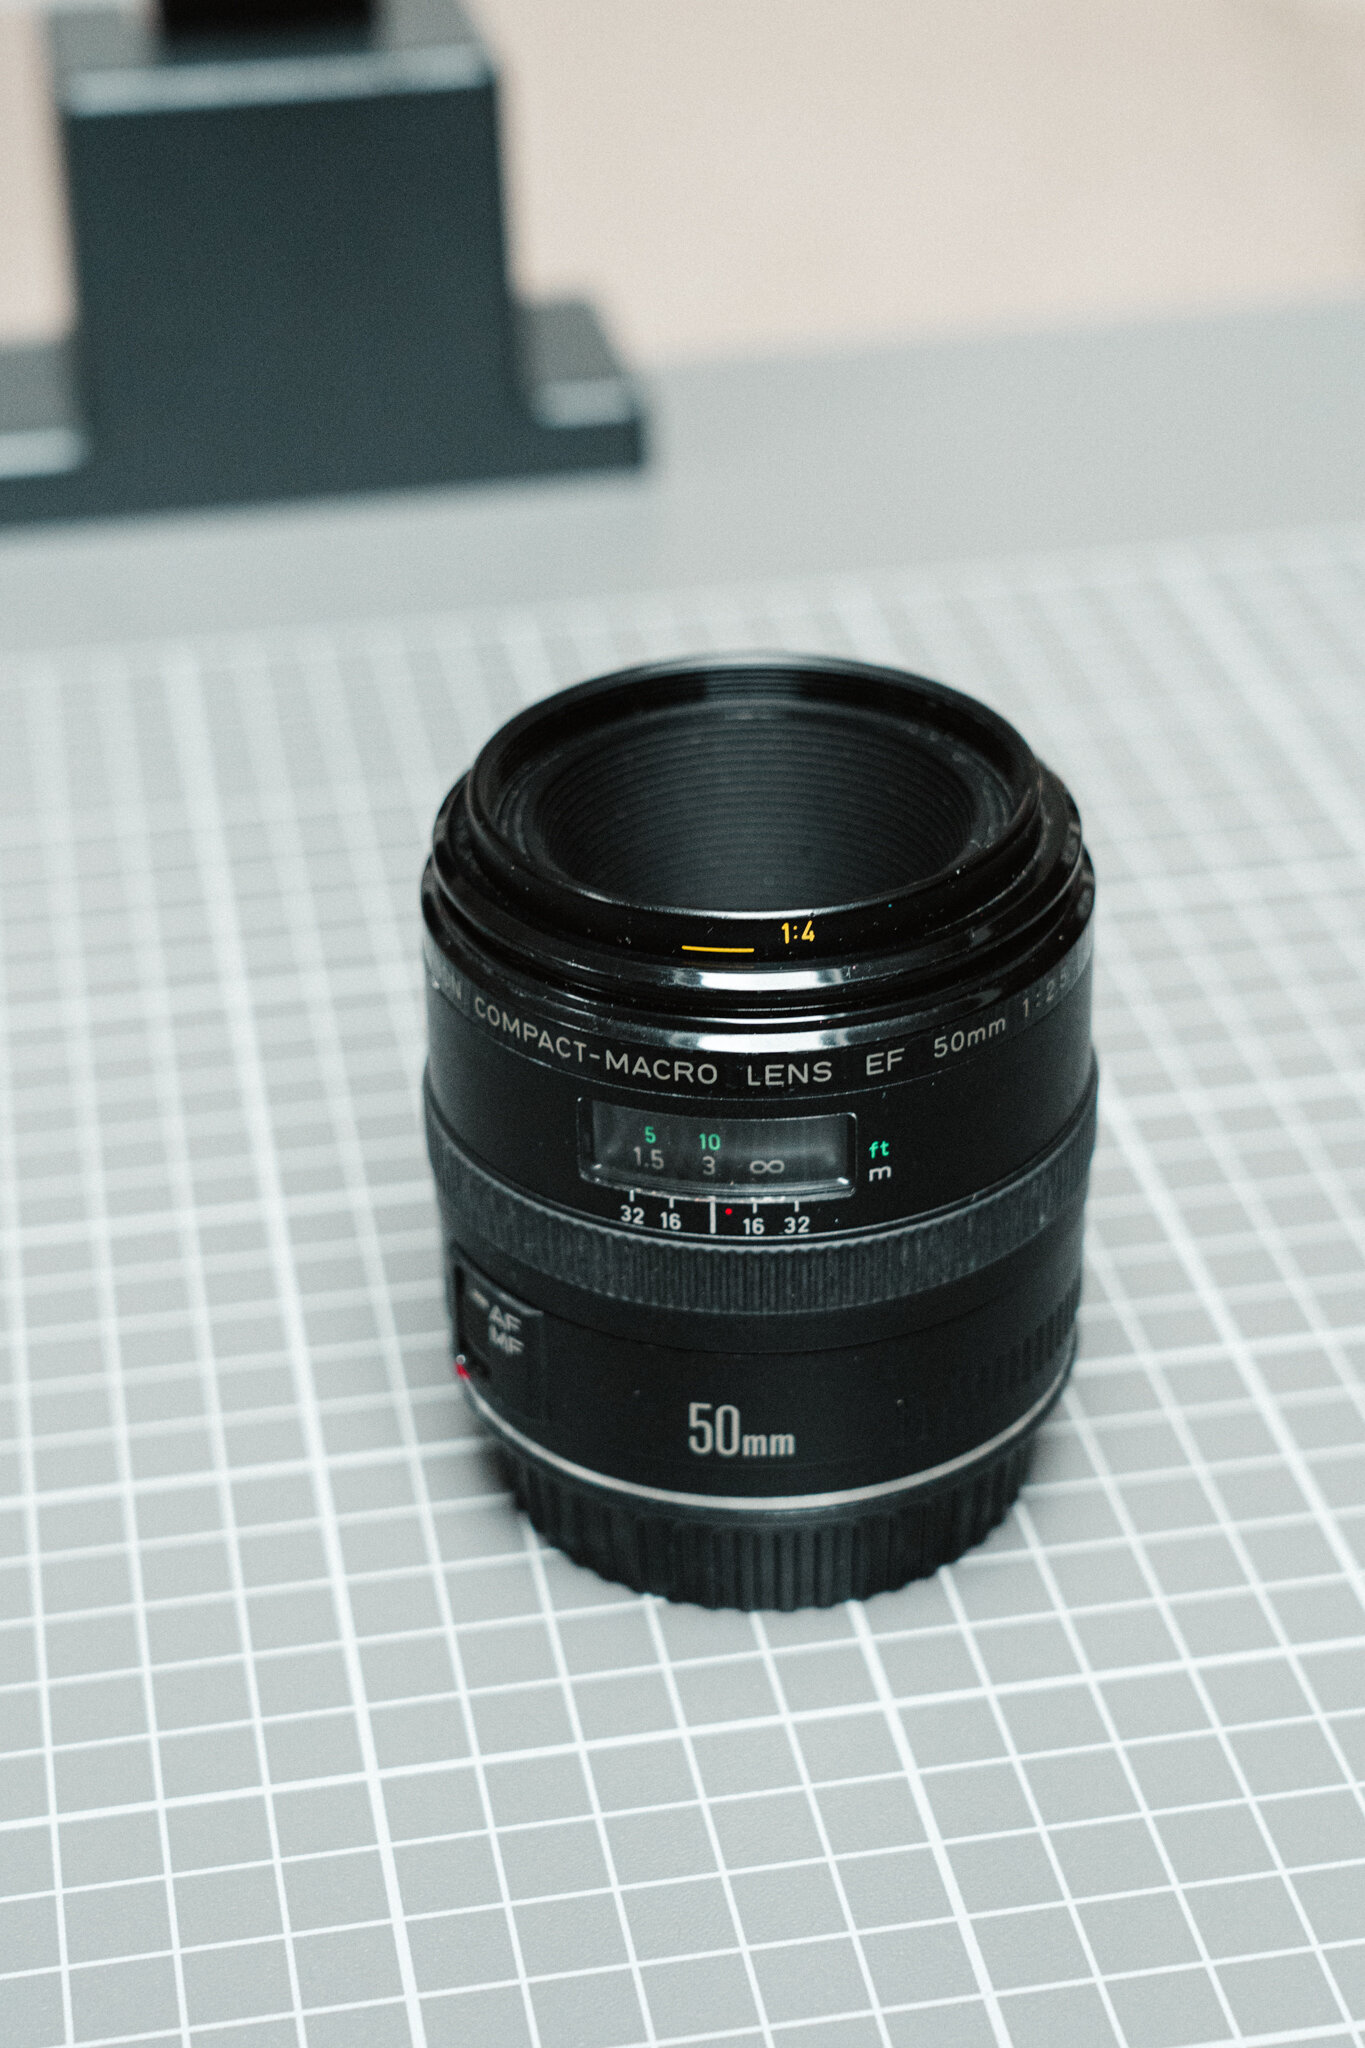
Macro Lens - I use a 50mm canon Compact-Macro lens with autofocus.
DSLR camera. I use a canon 5d Mark IV. Having a ‘live view’ function comes in very handy when composing, focusing and exposing your negative.
Developed negatives, these come in handy!


Software:
Adobe Lightroom – one of the easiest ways to manage and edit your files.
Negative Lab Pro – To really get the most out of your RAW data in your DSLR scan you should download this software which allows you perform non-destructive adjustments to your file without losing any colours and tones.
Getting started:
Attach your camera correctly to your copy stand or tripod. Important, make sure it is level! iPhone users can use their in built level app to make sure everything is flat and perpendicular to the surface/copy stand.


Load your negatives into the film holder and make sure everything is flat. Be careful not to get fingerprints on your negatives and be sure to use your air blower and microfiber cloth to be rid of any other dust particles. Make sure your negative is loaded with the glossy side facing down/ the matte side facing your camera.

Place the film holder onto your light table and then turn it on. Use your air blower to remove any dust.

Camera settings:
F8 – Using an aperture around F8/F9 with a macro lens means you avoid any lens vignetting from happening and lenses are typically at their sharpest around this mark.
ISO 100/200 – having your ISO set low means you avoid any noise from appearing on your final RAW image ( make sure you have your camera settings as RAW, don’t worry too much about white balance as you change this in post using Adobe Lightroom).
Shutter speed varies depending on how strong your light source is and which camera set up you are using to give you the correct exposure. For me I had it set to half a second. Use your inbuilt light meter/histogram to make sure your levels are looking good.
Use your camera on “LIVE MODE/VIEW” to make sure that you compose your shot with the negative appearing correctly and in focus. Use gridlines to be sure that everything is perfectly in line. Manually focus and zoom in using your live view to see that the grain on the negative is sharp.

Another tip to getting sharp images is to set your camera to a 2” delay timer once the shutter has been pressed. I use a tether cable and can then take the photo using the handy menu that Lightroom has set-up with my camera. I can also change key settings here all via my laptop without having to touch or move my camera and set-up.
TURNS THE LIGHTS OFF/ MAKE YOUR WORK SPACE AS DARK AS POSSIBLE.
Doing so eliminates any light sources from interfering with the process and allows you to take a clean photo.

Once you have your image in Lightroom, use the colour picker tool on the edge of your negatives film mask. Do not do this on the part of the negative where your image is, just the strip that surrounds it.

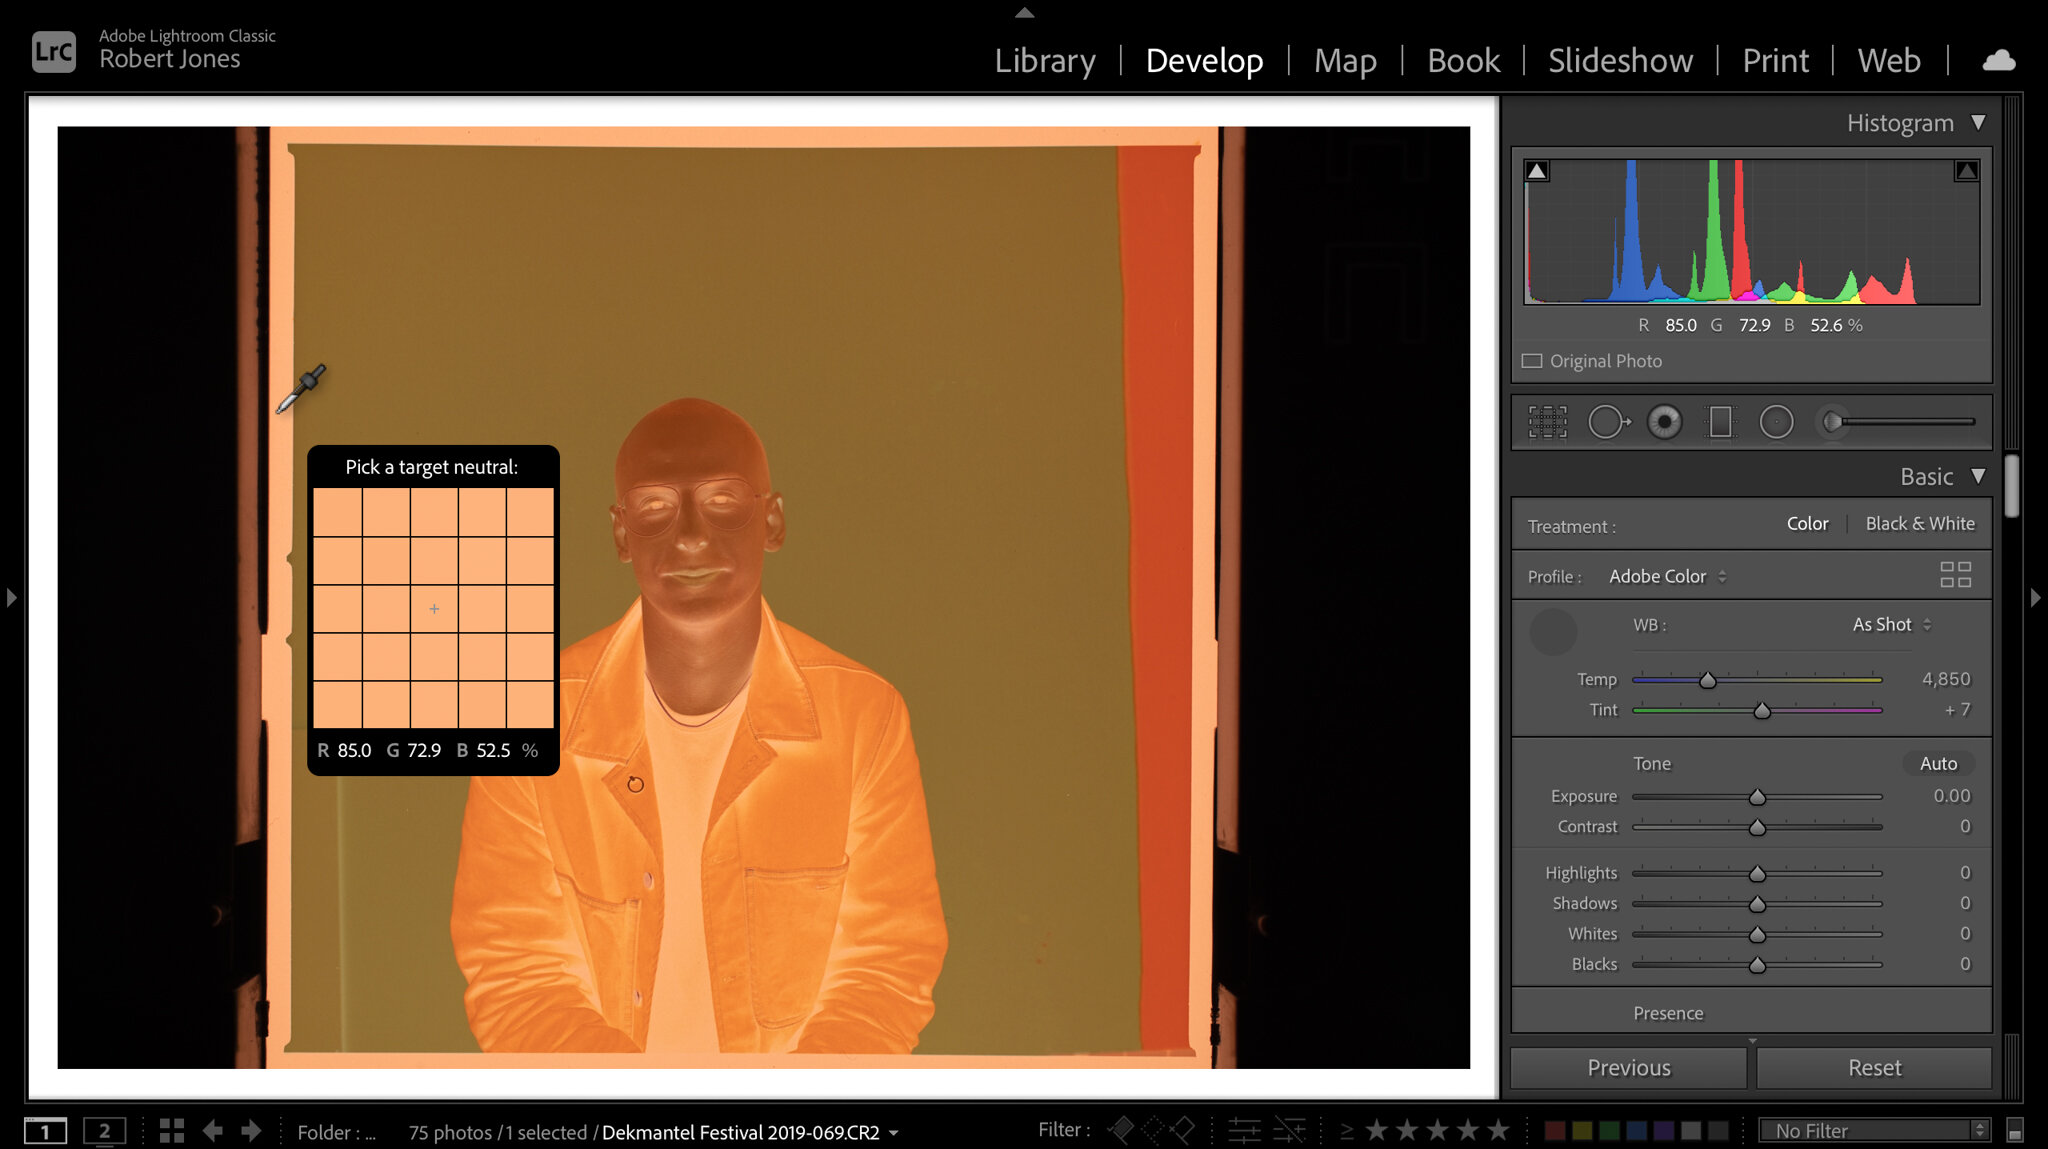
Next crop your image so that it is just your exposed photo in view. Its important that you crop carefully as the Negative Lab Pro software uses whatever you choose to include in the cropped image when analysing and converting it. Otherwise you may end up with a final converted image with colours that are off!

Making sure you have selected your cropped negative, now open Negative Lab Pro software by using command + N (mac).


Click ‘Convert Negative’ to see the software works its magic!

Next the following settings are mostly decided by your own personal preferences and how you want your final image to look. So I’m not going to go into detail on this as everyone edits photos differently and has their own style!

Tip: Once you’re happy with your adjustments made using Negative Lab Pro, you can ‘Make a copy’ which creates a positive file in Lightroom. This allows you to use the typical Lightroom develop settings as normal on your newly converted image!

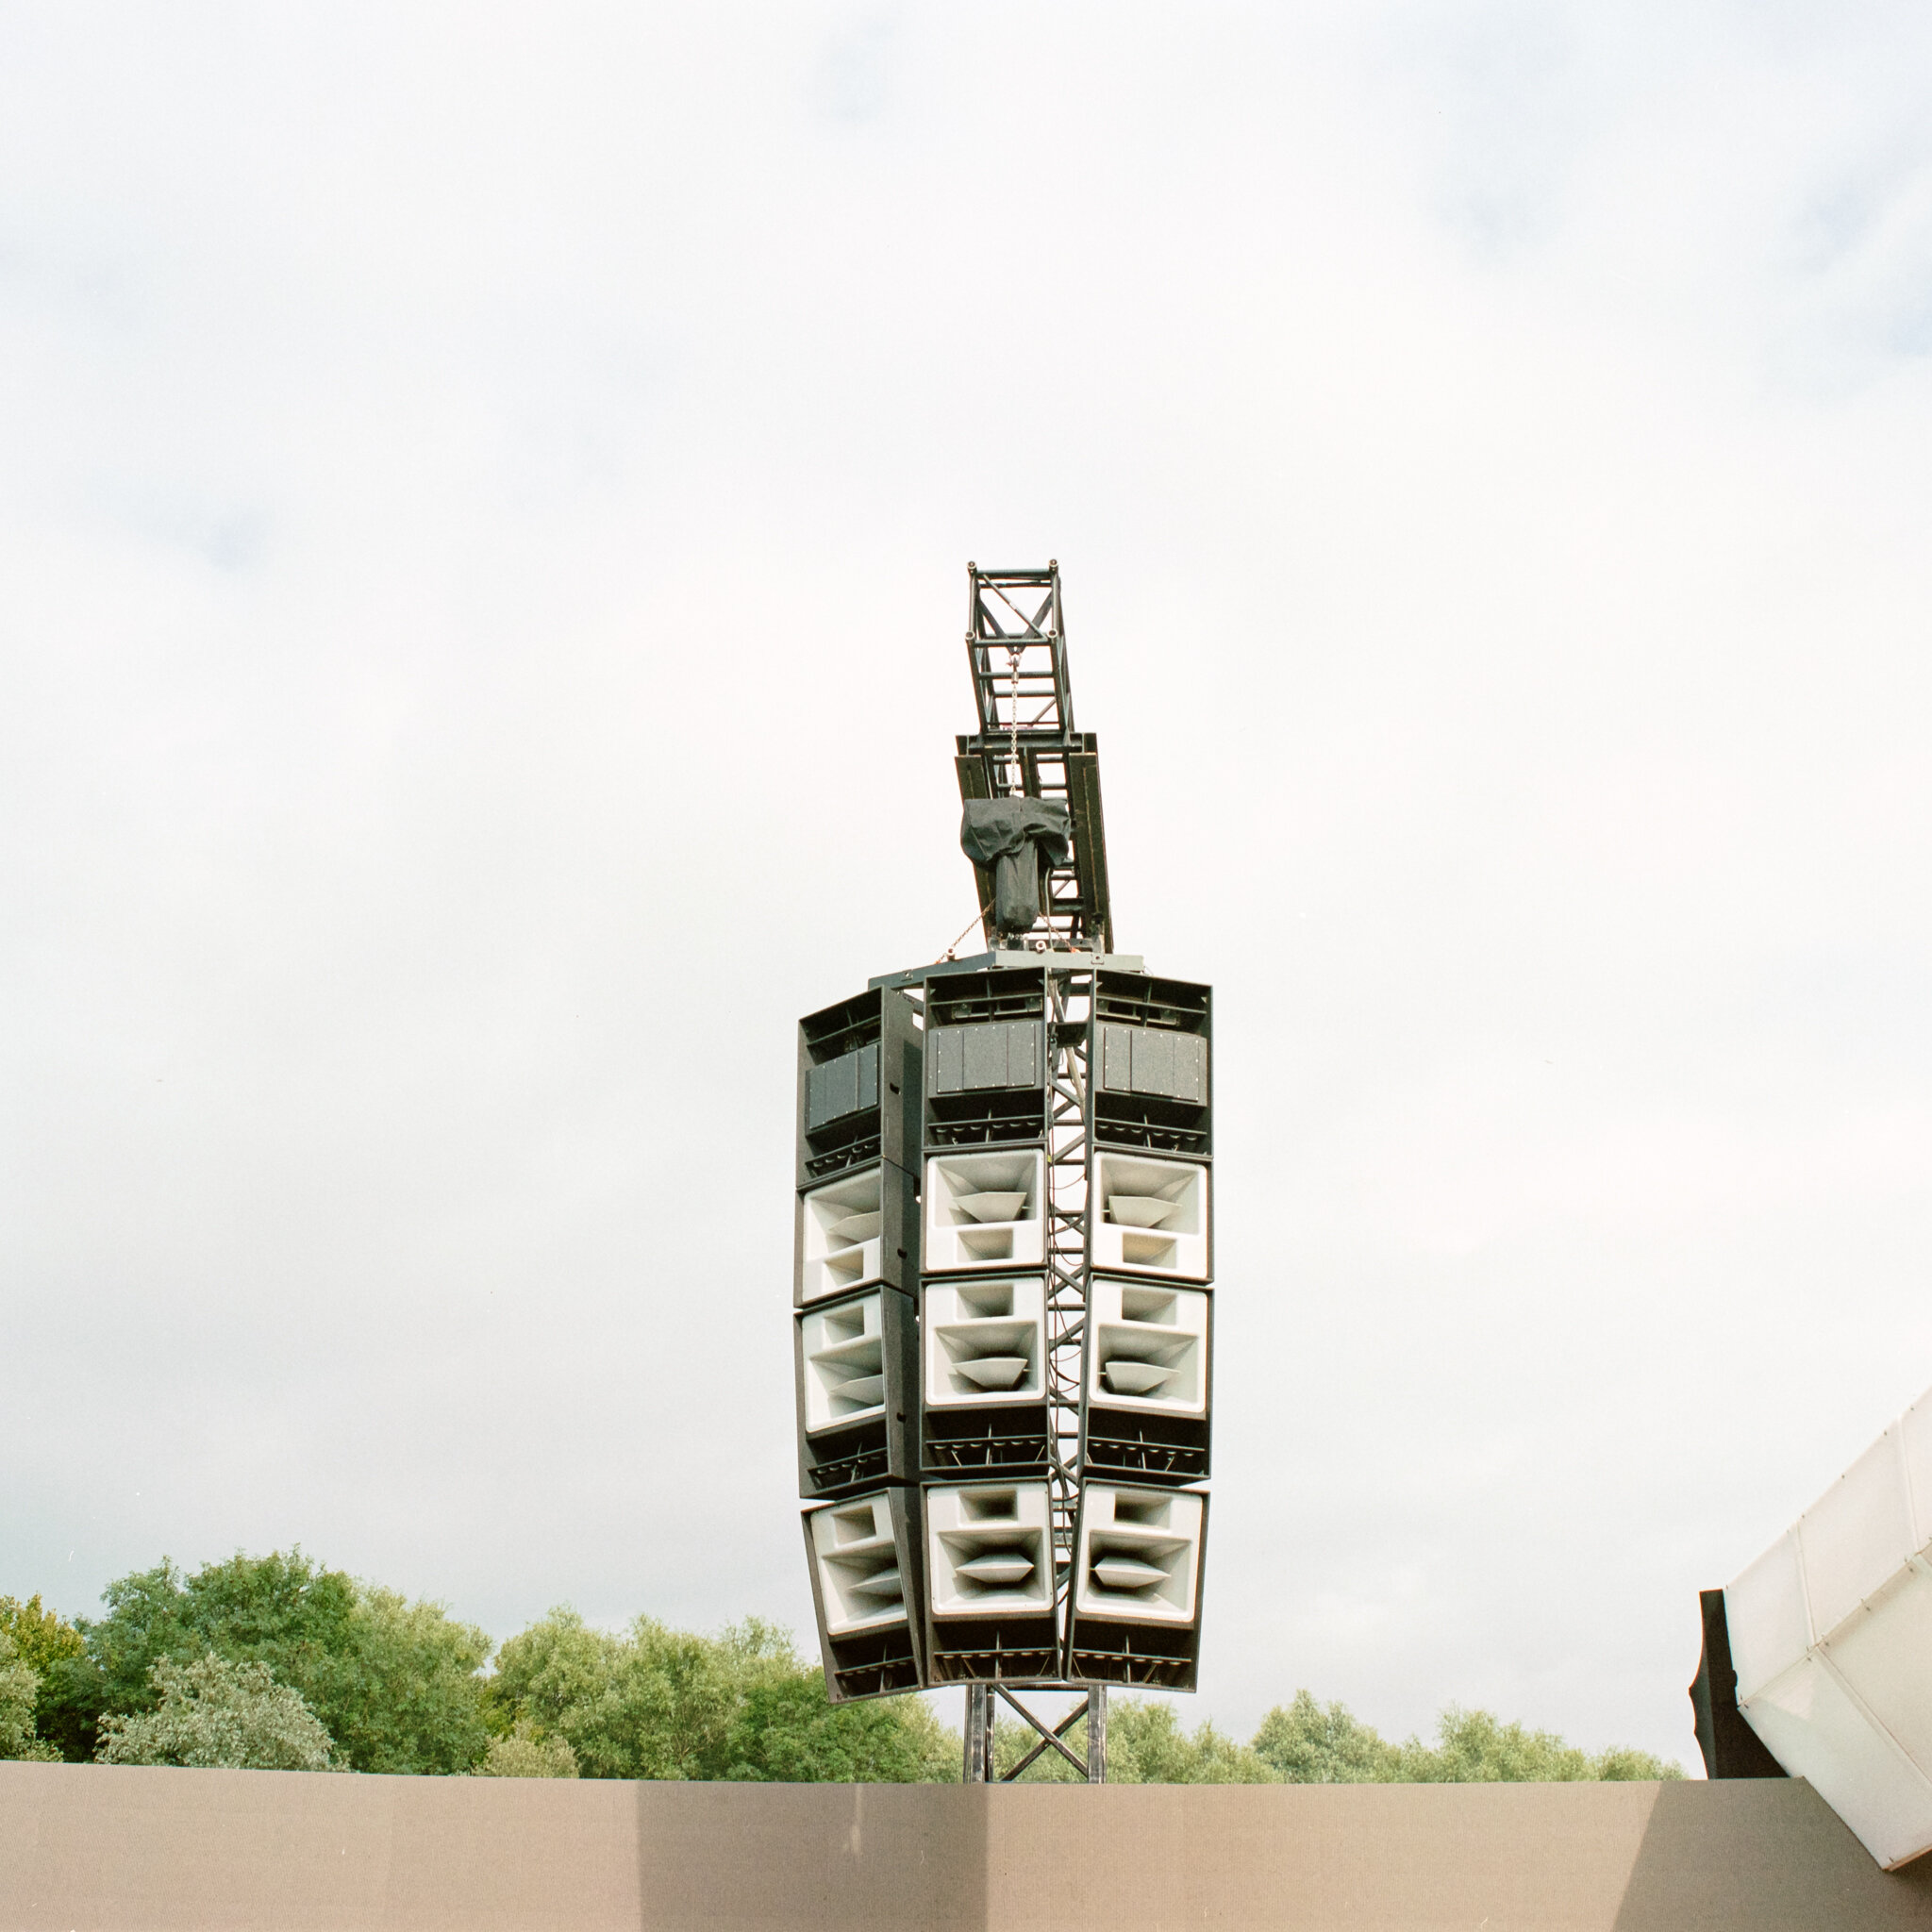
And here’s the final image!

Palm Trax at Dekmantel Festival. Photograph by Rob Jones.
Scanning using my DSLR has so far been a very rewarding process. It’s allowed me to scan a lot of negatives in a fraction of the time a normal scanner does. The files are high res and great to work with in Lightroom giving a lot of leeway when making adjustments and fine-tuning details like colour and tone. There is obviously an upfront cost using this method, but if you compare it to other scanning methods it can save you some money in the long run. When it comes to the final image, if you’re happy with the way it looks, that’s the main thing.
Special shout out to Labyrinth Photographic in East London for developing my film. They also offer a really great scanning service too.
You can download a free trial of Negative Lab Pro. I recommend checking their site as its full of tips and information about using the software, plus a forum that allows you to post and comment on certain topics.
You can follow Rob on Instagram at @hirobjones or visit his website at www.Hirobjones.com